Roblox Studio is where you can create Roblox games and share with millions of players on the platform. If you are planning to learn more about making Roblox games or want to publish one soon, here’s how to download and install Roblox Studio. It’s free (you are not required to buy a license) and you need to follow a few simple steps to get it up and running.
How to Download & Install Roblox Studio
- You can download Roblox Studio on Windows as well as Mac.
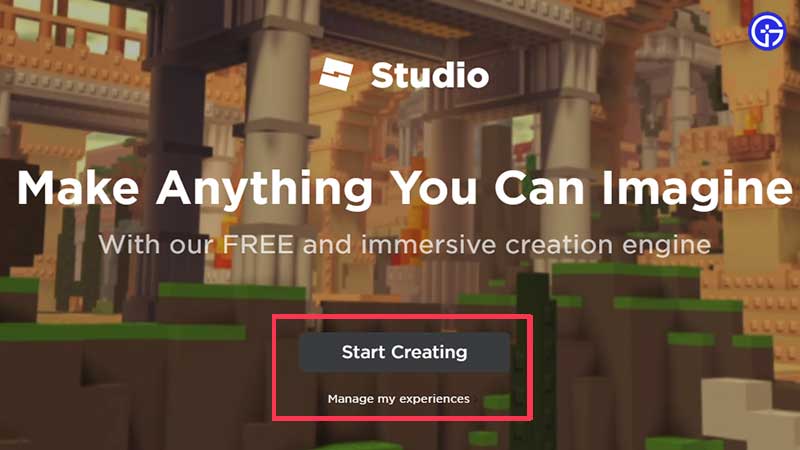
- Head to Roblox.com/create. Avoid downloading the .exe file from anywhere else.

- Click on Start Creating.

- The website will check for Roblox Studio and then pull up a window where you can hit the Download Studio button.
- Doing this should download the .exe file.
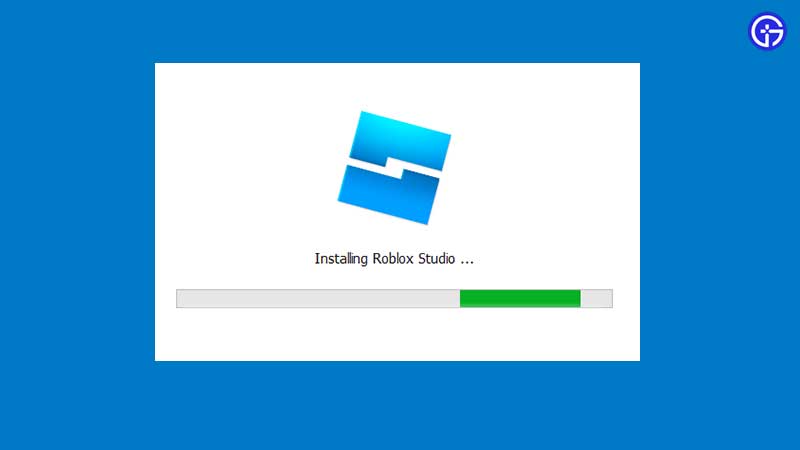
- Double click on the downloaded file in your browser.

- Once you see the Installing Roblox Studio message, wait until the process is over and it should load up on your screen.
- The next time you want to use this application, click on the blue icon on your Desktop.
System Requirements
Here’s what Roblox has shared about the system requirements to run Roblox studio smoothly.
- PC/Windows — Windows 7, Windows 8/8.1, or Windows 10, running IE (Internet Explorer) version 11 or higher. For Windows 8/8.1 you will need to run Roblox in
- Desktop Mode, as Metro Mode (the tiled start-screen) is not currently supported.
- Mac — macOS 10.11 (El Capitan) and above.
- Graphics Card — A computer less than 5 years old with a dedicated video card, or a laptop less than 3 years old with an integrated video card.
- Processor — Processor with a clock speed of 1.6 GHz or better.
- Memory — At least 1 GB of system memory.
- Internet access — This keeps the software up-to-date and lets you save projects to your Roblox account. A minimum 4-8 MB/s internet connection is recommended.
- In addition, a 2-button mouse with a scroll wheel will enhance your Studio experience.
For more related to Roblox, check out our related category.

