Needing a geographically diverse and hidden location out of which to conduct training operations, the Cartel La Red – at the time, the dominant cartel in Las Almas – constructed a place where men and women learned to become killers.
Under the direction of a mysterious military and security advisor known as “El Sin Nombre”, Sicarios were sent to the mountains to receive the same training in urban, mountain, jungle and close quarter combat as elite Mexican Special Forces operators. Utilizing the jungle and mountain coverage to hide their elaborate training facilities, the sicarios of La Red were transformed into a veritable army of assassins. Learning everything from rock wall rappelling to HALO jumping to room clearing in a PLAZA-SIZED SHOOTHOUSE, they were taught war effectively and methodically.
With secure access to the snaking Rio de Almas providing a direct route from the Gulf ports to the northern border, and the nearby mountains serving as an ideal location for overwatch, the area would have been perfect for continuing Narco operations.
If it wasn’t haunted.
Watch Shoot House Map | Call of Duty: Modern Warfare II video.
Shoot House provides the ideal setup for SpecGru and KorTac forces to exercise their combat and movement abilities in an intimate, remote tactical environment. Operators who perform well here will be more than prepared for the further challenges ahead, having proven their skills in every kind of fierce engagement.
Kortac Operators arrive on the western side of the map at the Alpha Gate, while KorTac Operators deploy on the eastern side of the map at the Bravo Gate.
Details can be found in our blog.
MAP VIEWS:
Spawn Point: Kortac
Kortac Spawn Zone (West) – Alpha Gate, Forklift, and Courtyard
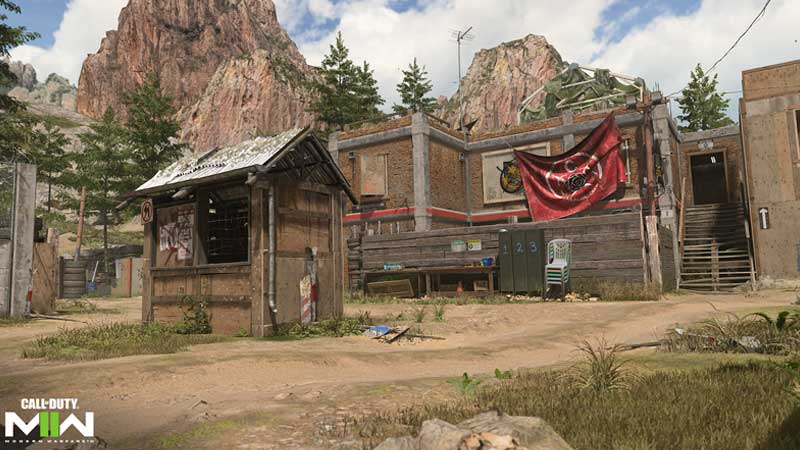
Shoot House employs a classic three-lane, near symmetrical design, so that the forces on both sides of the map at match start must determine whether to head straight toward the center lane, north toward Containers, or south toward the Junkyard.
Spawn Point: Specgru
Specgru Spawn Zone (East) – Bravo Gate, Back Alley, and Shanty Town
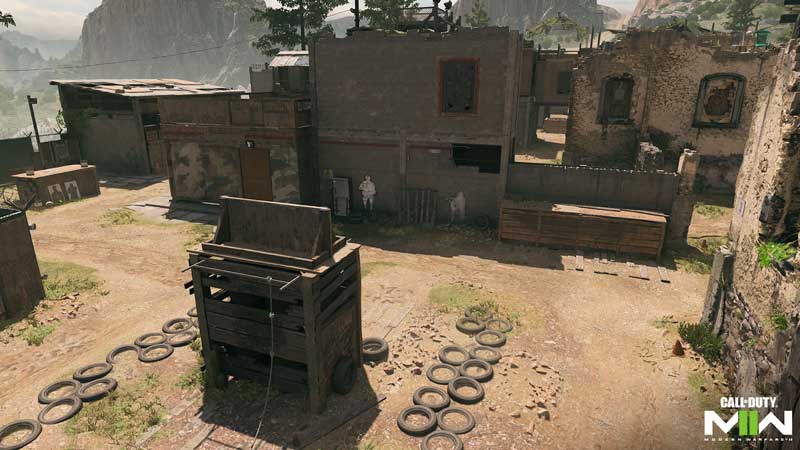
The Specgru forces begin at Bravo Gate with a similar initial layout, though there are some important differences here.
As with the Alpha Gate spawn, there’s a good chance that a sniper or two will head straight forward, often initiating the match with its first battle as each side vies for dominance over the middle lane. You can also run straight into the center lane — though you’d better cross your fingers and use your Tactical Sprint to get out of view fast.
The north route leads to the Back Alley, featuring the remains of a stone archway and training obstacle much like the Forklift on the opposite side of the map. The view into Containers is much different, however, providing a more open view of the area with added dangers of encountering enemy Operators. Approach cautiously.
To the south, the Shanty Town offers an interior and exterior path to the Junkyard. Head through the interior shooting range for close-quarters combat and remain outside for mid- to long-ranged encounters. Pay careful attention to the Junkyard when taking the outside path to prevent getting eliminated before you even have the chance to get there.
If you’d rather, you can avoid the Junkyard altogether on the initial break, instead mantling up the wall to the right for a view into the center lane and across to the shipping crates lining southern edge of Containers.
Map Maneuvers: Route Planning
Northern Route — Forklift, Office, Containers, and Back Alley
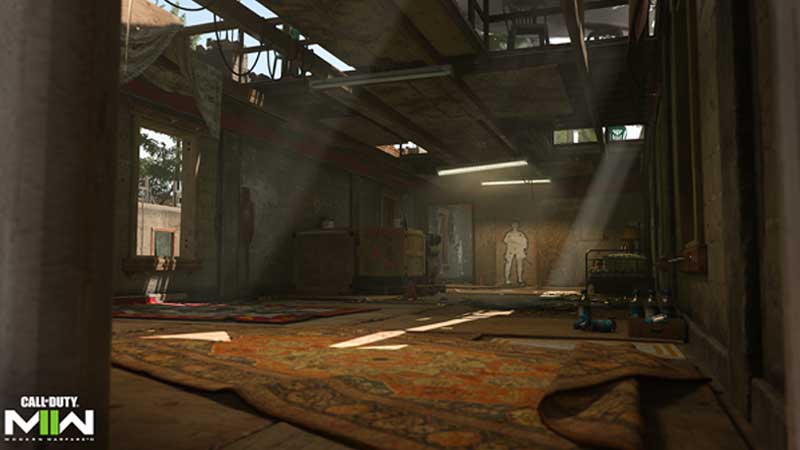
Shoot House’s northern route includes the aforementioned Forklift and Back Alley areas leading into Containers and Office.
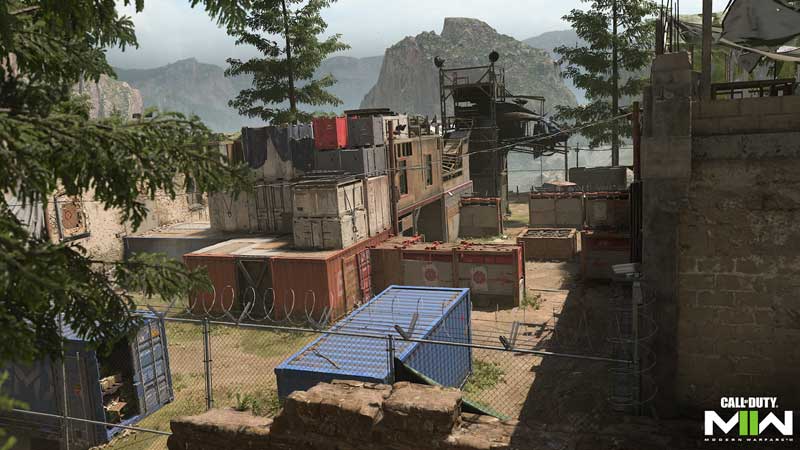
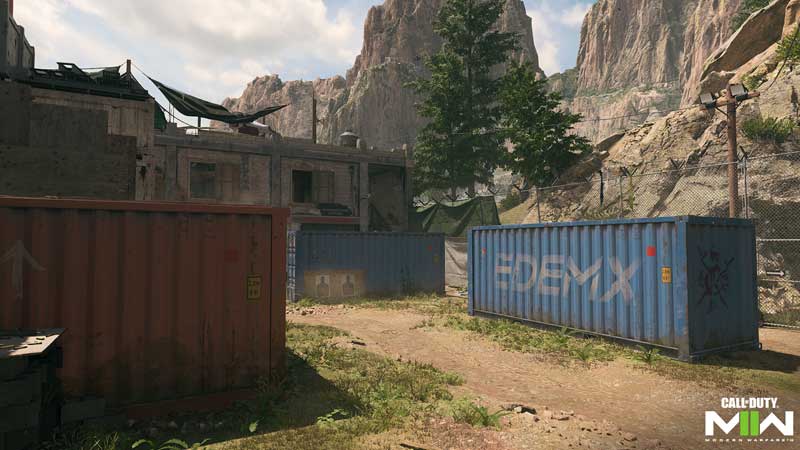
Arriving from the Back Alley, it’s best to avoid the middle of Containers where you’re a sitting duck against Operators firing from the Office and streaming in from Forklift, Center, and Main Street. Instead, head right and use the center “EDEMX” container for cover.
You can also head left to climb up for a better view by the two red containers and smaller crates stacked on top of them. From up here you can more easily engage enemies firing from the Office and get the vantage point over Operators down below, so long as you watch your six.
Largely situated in the northern route, the Office may be the most contested area of the map with its advantageous view over Containers, Center, and even a bit of the Junkyard. As a power position, it’s tempting to remain here to rack up eliminations, but it’s perhaps best to take out some enemies and then move on, as company is only ever a few moments away.
As for Forklift and Back Alley, use the cover objects provided when swinging around toward Alpha and Bravo Gate, revealing only as much of your Operator as needed to get a read on what’s ahead.
Center Route — Alpha Gate, Underpass, Center, Main Street, and Bravo Gate
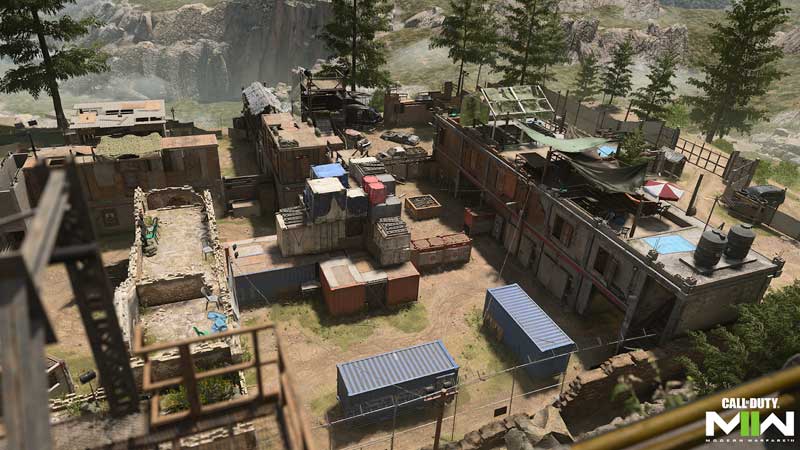
Though divided into three distinct sections, the Underpass, Center, and Main Street are all parts of the middle lane running from Alpha to Bravo Gate.
From Alpha Gate, take the southern opening or vault over the wall to make your way to the Underpass. Always take a moment to check the sight line; there’s always that threat of a sniper or camper on the other end. Check your minimap for activity in Center, as well.
Center includes four access points, from either end of the middle lane as well as coming in north from the Containers and south from the Junkyard. As a major thoroughfare, expect a lot of cross traffic.
Main Street, toward Bravo Gate, opens up some interesting pathways. Objects to either side allow mantling up either on top of the red crates abutting Containers, or up and over into the Junkyard. This is a great way to get out of the center lane fast, or even to set up an ambush by getting the height advantage over enemies racing through below.
Southern Route — Courtyard, Junkyard, and Shanty Town
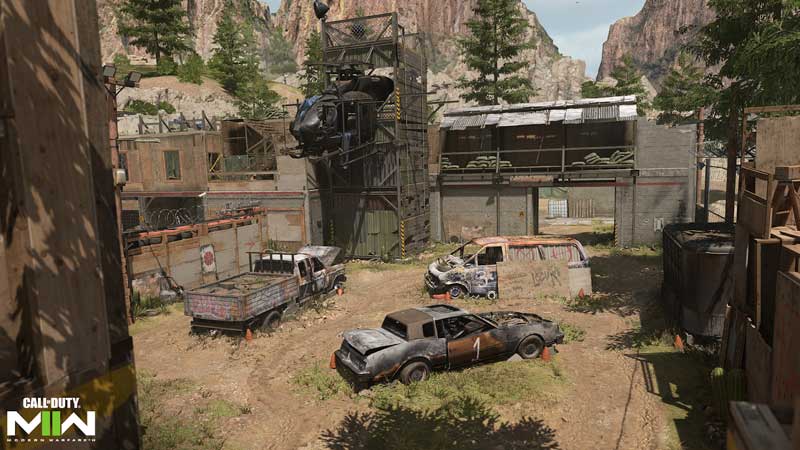
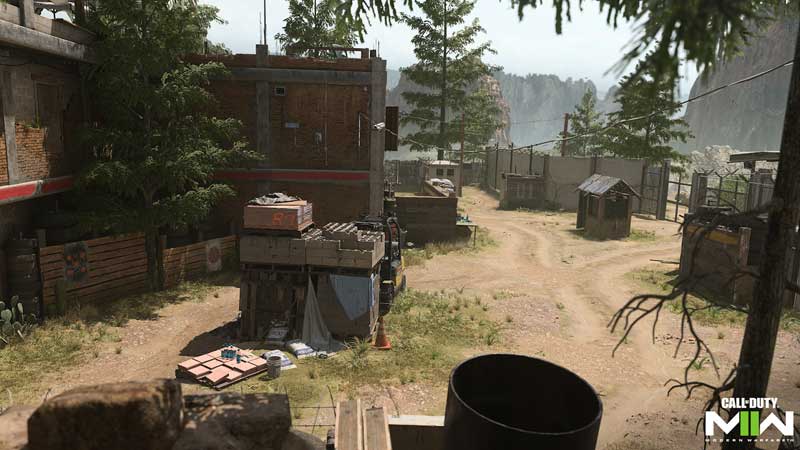
The Junkyard and Shanty Town are the two hotbeds of the southern path, with Junkyard’s central position often making it the most contested of the two. The vehicle wrecks obscure sight and offer partial cover, making it a prime space for ambushes.
When approaching either the Courtyard or Shanty Town in a skirmish, use the van with the wooden slats leaning against it for better cover than the pickup or car. Stay alert for incoming grenades and, when the crossfire becomes too intense, book it between the tire walls and into Center for a brief reprieve.
Recruit Tactics
Flyswatter
As chaotic as things may be on the ground, it’s clear, blue skies overhead. That paired with the fact that the Alpha and Bravo Gate spawns both provide good cover gives support minded Operators the chance to knock out enemy aerial streaks with a Launcher.
Shooting down enemy UAVs, Counter-UAVs, and higher-tier aerial streaks is incredibly useful. If you’ve got a knack for it, consider enabling Scorestreaks to rack up points.
Control Your Sightlines
Many of the different areas in Shoot House connect to each other via large square openings. Your survivability will greatly improve by approaching these thresholds tactically.
Avoid racing straight through them, instead, approach from one side, using the corner or another nearby object to provide cover as you scan the upcoming environment for enemy targets. This way, if you start taking fire, you can easily sidestep back behind the wall or object for protection.
Veteran Tactics

A Hop and a Skip Away
From the top of the shipping crates in the northern Containers area, it’s possible to run and jump onto the shipping crate closest to the office and stairwell, and from there to the righthand Office window. This offers a quick route that can be used for a tactical getaway or to chase down a target on ground level.
Shoot House is full of mantling opportunities. While in some respects you are more exposed up high, you often gain the advantage by throwing your opponents off course and that second of confusion is often all you need to open the attack and land the elimination.
Keep Your Senses
Areas like the Junkyard, Office, Center, and Containers are ripe for destabilizing attacks from Tactical Equipment. If the enemy is using these to dislodge you from objective and power positions, consider equipping the Battle Hardened Base Perk to limit or nullify their effectiveness.
Pair Battle Hardened with the E.O.D. Base Perk to additionally gain resistance against non-Killstreaks explosives. Through combining the two, you’ll be better prepared to take and defend objectives and hold power positions.
Prestige Tactics
Nice Try, Camper
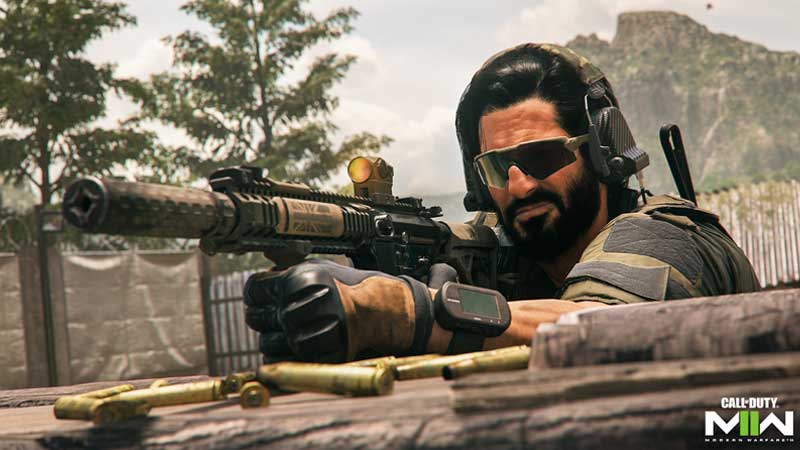
Is the enemy holding up tight in the Office, using Equipment, Field Upgrades, and streaks to solidify their position? Equip and earn the Spotter Bonus Perk and you’ll be able to spot and highlight these items through the Office walls, sending a signal that there’s trouble inside.
Lob grenades into the Office from the Junkyard by hopping up onto the car for added elevation. Get this trick shot down to clear out any campers without exposing yourself to return fire.
Adapt and Thrive
Due to Shoot House’s compact layout, the focus of battle can quickly shift from one side of the map to the other. While in one moment you might be pushing the attack, in the next you may need to hold back and defend your position.
Adapt to the flow of the match by preparing at least two Loadout styles, one for offense and the other for defense. On defense, Base Perks like Battle Hardened and E.O.D. will help keep you in fighting form against incoming grenades, while on offense you may prefer Tracker and Pitcher, helping you to hunt down enemies and more easily dislodge them with your grenades.
Objective Routes and Rotations
Mode Intel: Domination
Domination
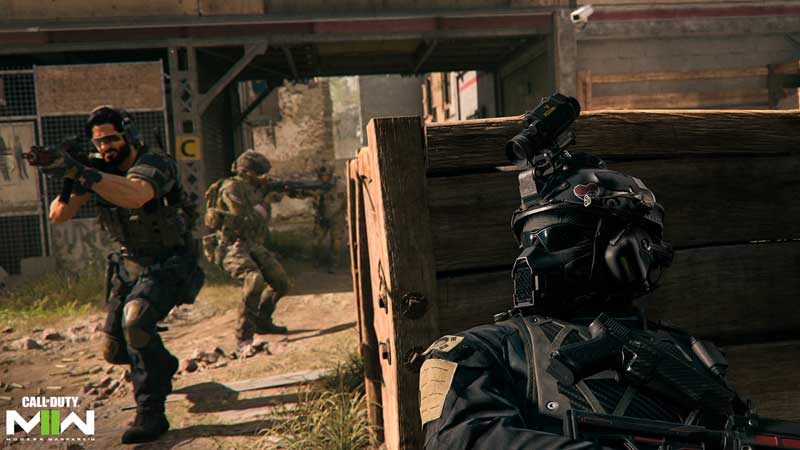
With the A and C flags positioned right at Alpha and Bravo Gate, they’re easy to capture right off the spawn, turning the teams’ attention on the coveted B flag situated in Center.
With entrances on all four sides and snipers often zooming in from the west and east walls, Center is a veritable madhouse.
Play smart and spread out more evenly, covering a wider portion of the map.
Watch for the Office, where players can hop onto the window ledge for a full view of Center, and don’t neglect the Junkyard and Containers as viable areas of B flag defense; by eliminating enemies before they can even get to the flag, you’re taking a lot of pressure off any defenders in the area.
Mode Intel: Search & Destroy
Showing map with S&D Bomb sites at: A – Courtyard. B – Containers.
Slow down, Operator. In Search & Destroy, speed is certainly still an important factor in winning the rounds, but it’s tactics that will decide the ultimate victor.
As the Attackers, either bomb site is fair game, but you’ll likely encounter stiffer resistance at the B Bomb site where the Defenders have access to the Office windows and your line of sight against enemies is blocked. Mitigate the danger by rushing Main Street in the center lane, then hopping up onto the crates overlooking the area, thus providing cover fire for your teammates on the ground. The attacking team can also find success by sending in a handful of teammates to the B Bomb site, going loud with grenades and pushing aggressively into Containers as the bomb carrier and some backup swing around to the A Bomb site in the Courtyard.
When approaching the A Bomb site, expect resistance partway through the Junkyard as the Defenders can get to this area much more quickly than the attacking team. If the situation is right, send someone through Center and Underpass to flank them.
For this reason, it’s helpful for someone on the defending team to stick back by Alpha Gate when defending the A Bomb site, using the stack of containers to block lines of sight.
On a smaller map like Shoot House, many rounds will find teams rushing straight into combat, but don’t let that discourage you from rotating as needed, whether on offense or defense. There are several available routes between the A and B Bomb sites, whether you hoof it through Center and Underpass or stick to the Alpha Gate spawning area for quick access to both sites.
Most importantly, communicate with your team. Things move quickly here, but not so much that you can’t turn the tide with some fast thinking.
Mode Intel: Hardpoint
Showing map with Hardpoints at: 1. Center. 2. Shanty Town. 3. Containers. 4. Junkyard. 5. Forklift.
Of Shoot House’s five Hardpoints, three are chaotic battle zones while two give the advantage to defenders with their placement in the map’s corners.
Right off the break both teams are assigned with capturing the first Hardpoint located dead center of the map. This is a great opportunity to get a feel for the enemy team, to see whether they rush in guns blazing or play more tactically with snipers and flank attacks.
It’s worth fighting like hell for control of the first point, setting the tone of the match, but keep your eyes on that Hardpoint countdown.
Hardpoint 3 and 4, in Containers and Junkyard respectively, are much more difficult to defend, open as they are to multiple angles of attack. Remember that only one teammate has to be in the Hardpoint to capture it; it may be wiser for others to spread out in the area for better defense.
Hardpoint 5, like 2, gives the advantage to the defending team, so it’s worth rotating here early even if you have to give up some points in the preceding Junkyard. Use the Forklift and surrounding walls for cover as you hold the area.
All the Hardpoints are in the open, so aerial streaks like the Precision Airstrike, Cruise Missile, and S.A.E. can do a lot of damage here; use them accordingly when you need to clear out a new point.

