Once you have built your village with a campfire, you can make a Simple Shack in LEGO Fortnite. Even though this object might feel like a waste of resources and time, it is a beginner-friendly shelter that will serve as a good practice run before you start building Castles and Palaces. Additionally, this Shack will also keep you and your villagers protected during the rains.
Therefore, if you are considering all the positive factors and benefits you can reap from this simple shelter, here is a complete guide that will help you kickstart your building aspirations.
How to Make a Simple Shack in LEGO Fortnite

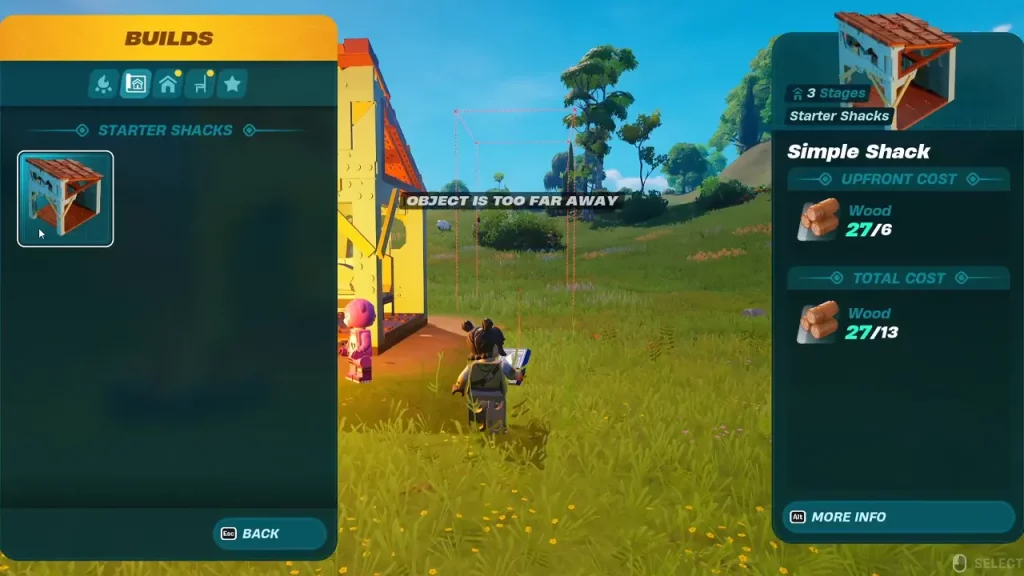
To start this process, you will first need to access your Build menu and click on the ‘Builds’ option. Once you open this option, under ‘Starter Shacks’ you will see the recipe to make a Simple Shack. You will notice that this process can be completed only if you have 13 Wood. Therefore, before starting with this construction, we should first learn how to gather this resource.
Collecting Wood
Wood is the sole ingredient you will need to complete this process. However, this recipe demands 13 Wood, which seems a lot, especially while building a Simple Shack. If you have been concerned about this, here is the bifurcation of the Shack and how much wood each part requires:
- Simple Shack Foundation (base) – 6 Wood
- Shack Floor – 1 Wood
- Shack Wall – 1 Wood
- Shack Pillar (2) – 1 Wood each
- Shack Roof – 1 Wood
- Shack Ridge Roof – 1 Wood
- Shack Half Wall – 1 Wood
Since you now know that this Wood will help you create a perfect shelter, you can start harvesting this resource by chopping the trees present in the Grasslands. Apart from this, you can also collect pieces of Wood branches lying around this biome as well.
When you go to collect this item, we would advise you to harvest this resource as much as possible, as this is one of the most common items that is used in various recipes in LEGO Fortnite. Once you have collected the Wood, we can move on and start the building process.
Building the Simple Shack

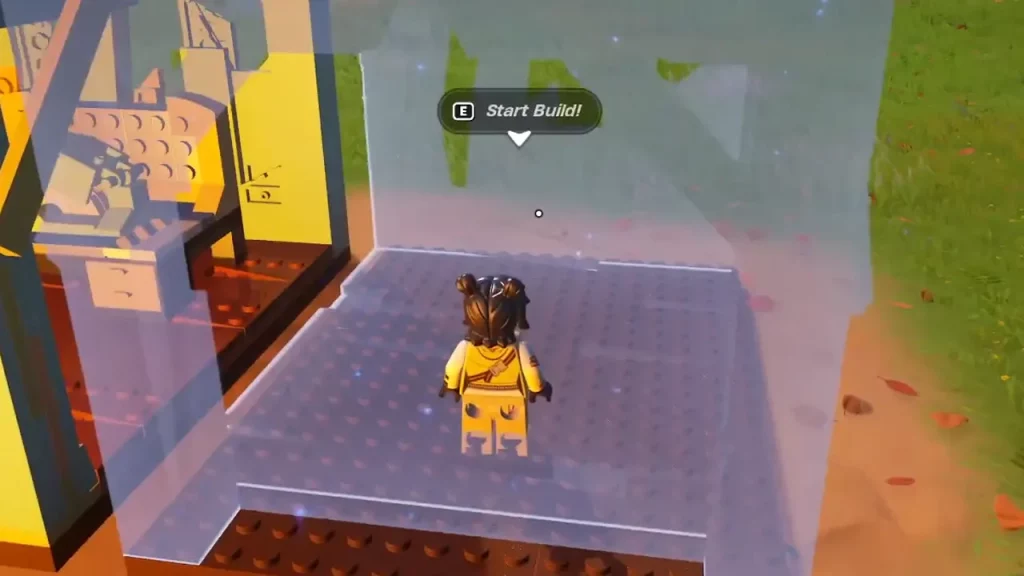
Now that you have the main resource that you need, access the Simple Shack recipe from your Build menu and place it anywhere in your village, according to your preference. Once you have placed this object, you will see the ‘Start Build!’ option pop up.
This will be the first stage of building this object and for this, you will first have to adjust the Shack Wide Floor, Shack Wall, and Shack Pillar. You can start with any of these pieces, all you have to do is select the part and position it accordingly. Once you see a green border surrounding that part, you can place it.
Now for stage 2, you will have to lay down the Shack Half Wall and Shack Roof. Both of these parts make up the roof of this Shack, therefore, if you are having trouble positioning these parts, you can build a ladder for your convenience.
Stage 3 is the last and final section of this process, and for this, you will have to prop the Shack Ridge. As mentioned earlier, if you are struggling to place this item, use a ladder. After you complete this stage, you will be able to fully access your newly built Simple Shack.
We have covered all the steps you need to take to make your own Simple Shack. However, if you want to move this shelter, learn how you can delete buildings and start crafting all the other recipes in LEGO Fortnite.

